Apple started back in 1976, though I am old enough to remember 1976, my personal history with Apple begins half way through their fifty year history in 2001.
In my computing for personal and professional reasons I was a Windows user. I was aware of Apple computers in the 1990s and was impressed with the new G3 iMac in 1998 and liked the different colours. However, I was ensconced in a Windows ecosystem so why would I use a Mac?
In 2001 that reason came to ahead when I was working for a consortium of colleges supporting them with online learning, and one of those colleges said we use Macs, specifically G4 PowerMac computers so we had to get a Mac. Looking over the Apple range, I saw that the “cheapest” G4 Mac was a G4 PowerBook. I recall saying to myself, well if I am going to need to support users of Macs, then I better familiarise myself with the Mac. I got the second generation 550MHz G4 Titanium PowerBook.
It was a couple of weeks, and I was a convert to the Mac. I remember getting the PowerBook an Airport card so that I could have Wi-Fi.
Over the next few years, I upgraded the PowerBook to a 1.5GHz G4 Aluminium PowerBook with integrated Airport Extreme.
In 2003 when the Power Mac G5 was released I got one of those to use, a Dual 2GHz model.
The next Mac I got was something of a disappointment. Apple moved over to Intel, and I got an Intel iMac. I think the issue was the lack of RAM more than anything, it came with 1GB of RAM.
It wasn’t that long before I upgraded my computer to a 27” iMac with more RAM. The screen was amazing.
At this time, I was working for an FE college and with the funding I was successful in bidding for I was able to almost get a new MacBook every year, well every time a new model was released. The replaced models were then redeployed in the college.
When I changed jobs, I did have an 11” MacBook Air for a while which was perfect for working whilst travelling. I also tried out the cylindrical Mac Pro for a while which was very fast (at the time).
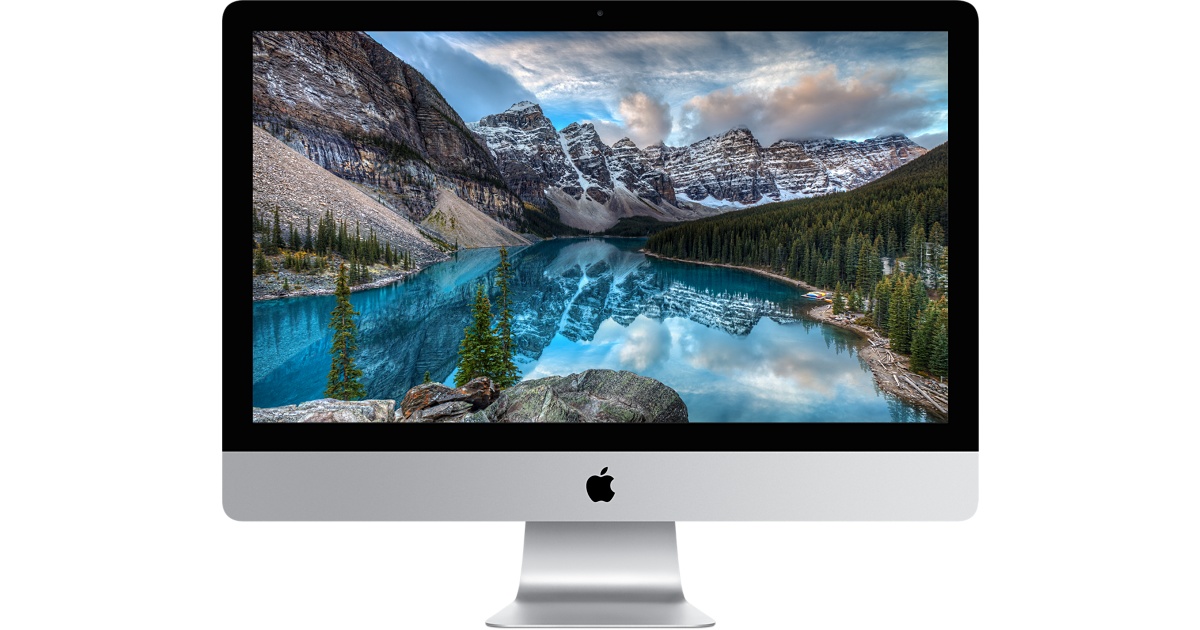
My next home device was the 27” Retina iMac. This was a great computer except one feature which was the fusion drive. It failed twice on my iMac, resulting in a replacement at the Apple Store.
I did use this computer for many years, but eventually it was used less and eventually was no longer supported by Apple.
Today (after a few laptops) my main Apple device is an M4 Mac mini which is certainly up to the job. I did once use a G4 Mac mini which I always thought was an amazingly small computer for what it could do. Likewise, I also liked the compact, thinner unibody aluminium version as well. The smaller footprint of the current version takes that concept of a tiny computer one step further.
Despite the fusion drive issues, if I was to say which of the Apple computers I have used was my favourite, it would be the 27” Retina iMac. Though the 11” MacBook Air and the Power Mac G5 are very close runners up.