
Apple started back in 1976, though I am old enough to remember 1976, my personal history with Apple begins half way through their fifty year history in 2001.
I have already written about my computing for personal and professional reasons, and the iPod, this post is about the iPad.
Apple announced the iPad in January 2010. To be honest I was impressed about this new product.
I had always liked the Tablet format, however the big issue with Windows based Tablets was always the standard Windows interface, fine with a mouse, didn’t really work with the Tablet interface; and you certainly couldn’t use your finger very easily. The iPad touch interface was like the iPhone interface which made it much more usable device than say a Windows XP Tablet.
There was a delay before they were available in the UK and I got one on the launch day.
It certainly met my expectations and over the last 15 years I have used the iPad extensively for home and work.
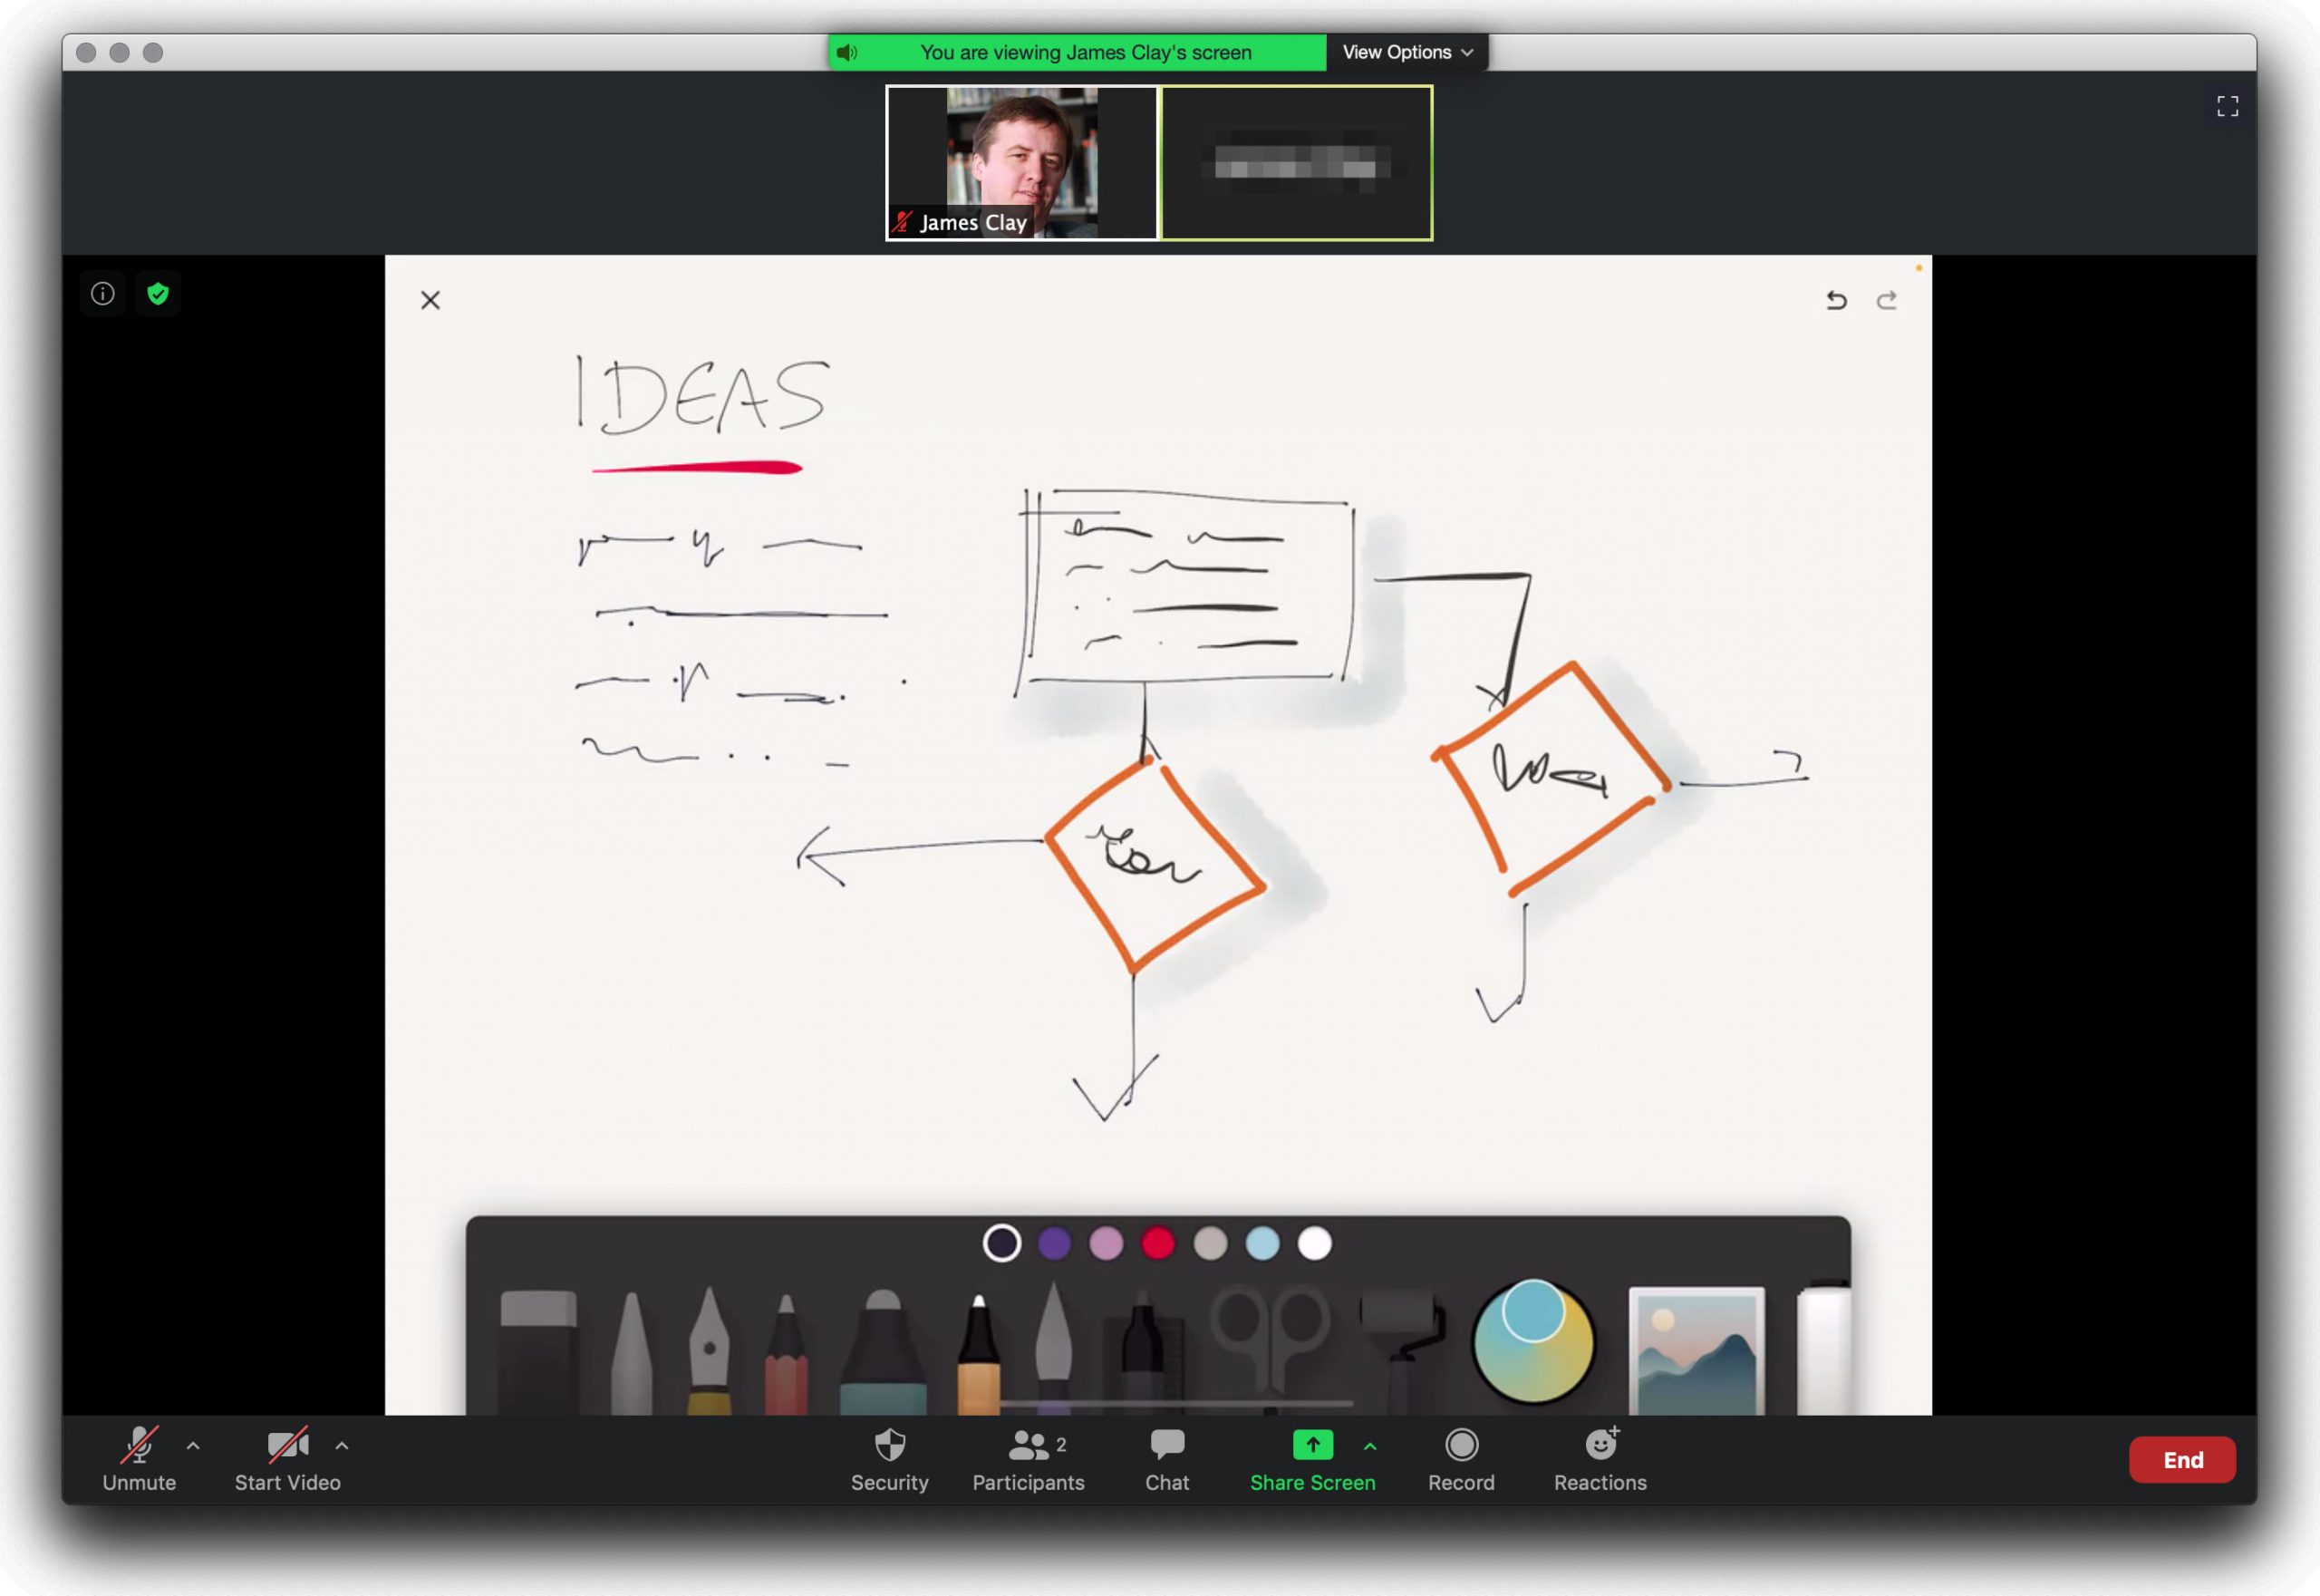
Over the year I have had about six or seven iPads, however they have either been standard iPads or the iPad Pro. I have never used an iPad mini or the new(ish) iPad Air. My current iPad is a 12.9” iPad Pro (3rd generation) and is about eight years old. I have been thinking about replacing it, but I don’t have as many use cases for it compared to how I have used it over the years. Part of how I would use it, I now use my phone for, and other aspects I now use a laptop. Where it always won out though was for sketch notes. One of the reasons I would replace the iPad is for sketching, as the battery in my current iPad doesn’t long as last as it use to. Another thing I never had was an iPad with cellular connectivity, and I think if I was to replace the iPad I would ensure that the new one came with cellular connectivity.