So you want to use your iPad a whiteboard in a Zoom meeting? Well this is one way in which you can do this easily. You will need an iPad (obviously), a whiteboard or drawing app and it helps to have another device (main computer) to interact with the meeting as well as using the iPad to draw from.
This post came about after people found my other post Using iPad as separate whiteboard in Teams useful.
That post came about after seeing this tweet on the Twitter from Charles Knight.
Is there an easy way to use an ipad as a whiteboard in say teams? Because it would be handy to have a separate device like that…
— Charles Knight (@Charlesknight) May 1, 2020
It got me thinking about whether this was possible, but also how you would do it. So I quickly tried it out and it worked fine. So I wrote it up as a blog post.
I have also been using a similar process with Zoom meetings, so have now written this one up as well.
If you are joining a Zoom meeting from the iPad you can can screenshare direct from the iPad, once you are screen sharing on the iPad, you can’t see the chat or other members on the Zoom call.
One solution is to join the meeting from both your main computer and your iPad at the same time.
As well as screen sharing you can also share other content or video from your iPad as well.
So on the main computer start or join a Zoom call.

Note the Meeting ID (and the password).
Start Zoom on the iPad and click Join a meeting.

Then enter the correct Meeting ID (and the password).

Ensure that the microphone is muted (or don’t join Audio).
In the top right hand corner of the Zoom App select Share Content.

You can use the built in Whiteboard for Zoom however this is quite limited in what it can do.
So select Screen.

The select Start Broadcast.

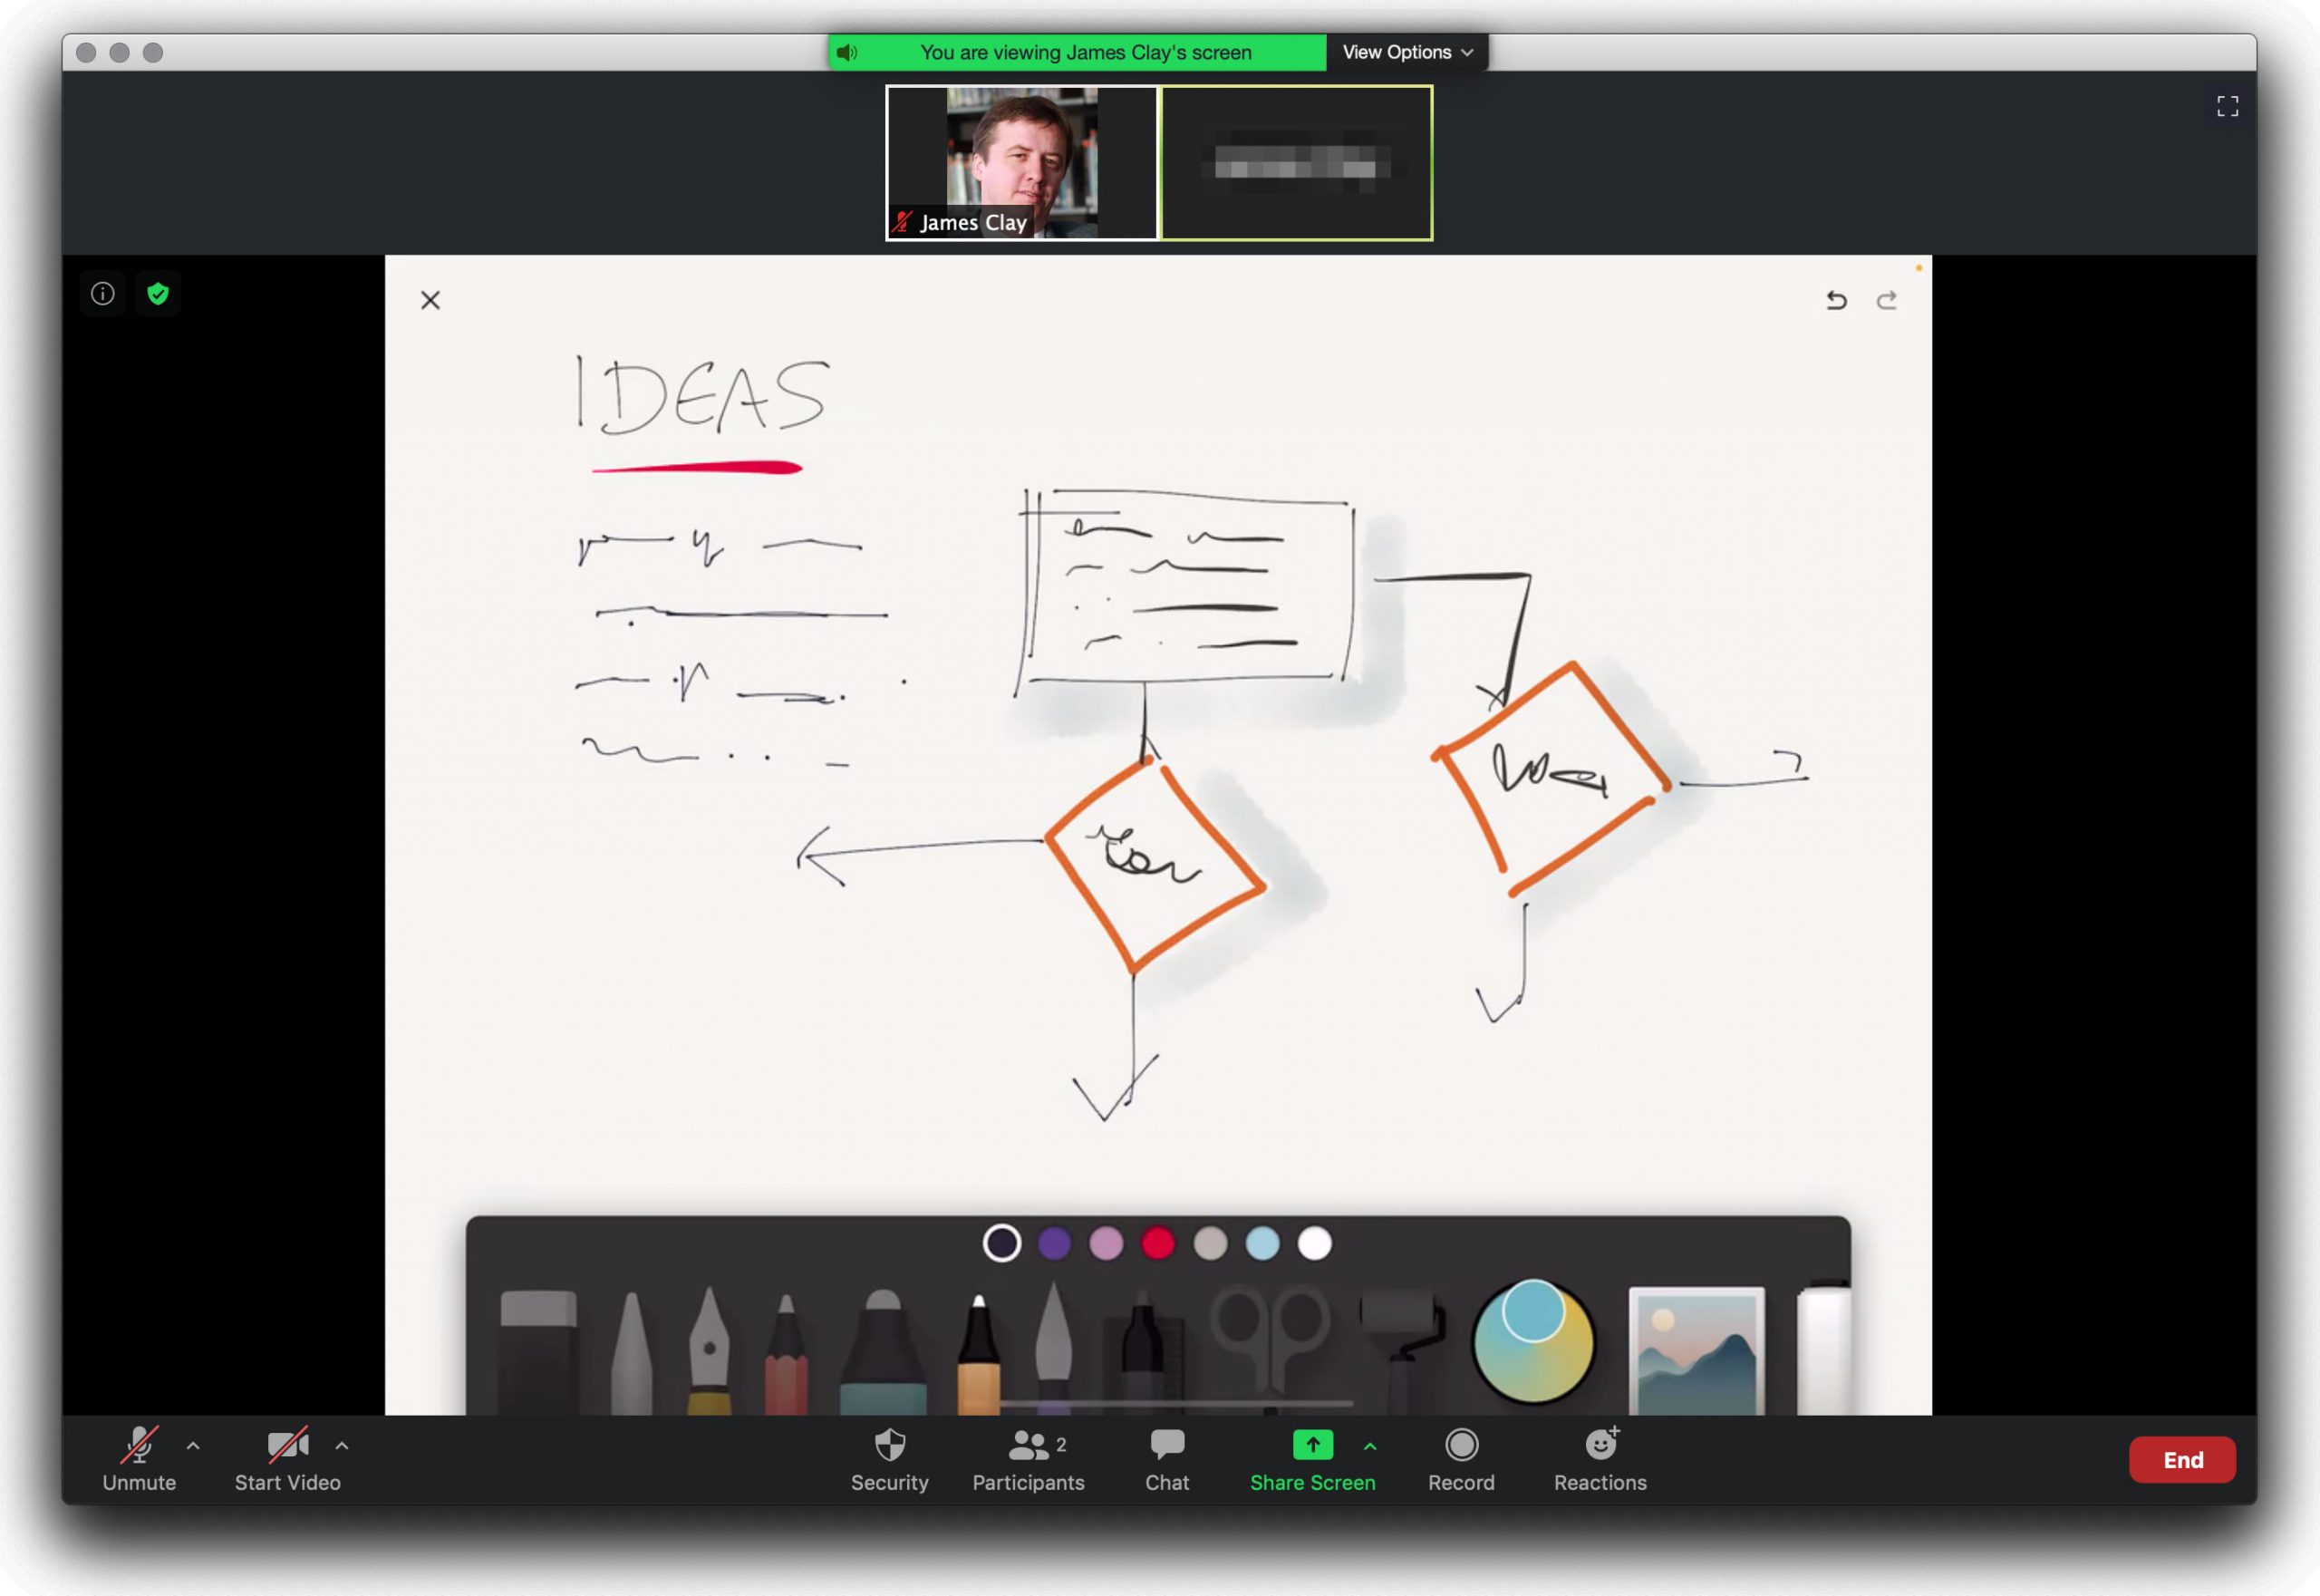
Others on the Zoom call will be able to see your iPad screen.

On the iPad swipe up to access the main screen. This is the view of that from the Zoom call. All participants in the meeting will be able to see what you are doing on your iPad, so it can be useful to turn on Do Not Disturb model to turn off all notifications.

You can then share content from any app on your device, though some video applications don’t share the video content.
One thing you can do is to use the iPad as a meeting whiteboard. So start your favourite drawing or whiteboard app, I like using Paper by 53.

I can use an Apple Pencil to draw and write and this will be shared with my colleagues in my Team meeting.
To stop broadcasting switch to the Zoom App by either bringing back the iPad home screen and tapping the Zoom App icon or through the app switcher.

You will then see this screen. Tap Stop Share to stop sharing your iPad screen with the Zoom call.

Once you stop sharing you will be faced with this dialogue. Either choice will result in you returning to Zoom.

If someone else in the meeting (say a host) stops you from screen sharing then If you tap OK you will remain in the application you are sharing. If you tap Go to application you will be returned to Zoom.


