Installed new Boot Camp drivers on iMac. Windows 7 now working a treat.
Realty easy to install. However it was huge… 381MB is one big download.
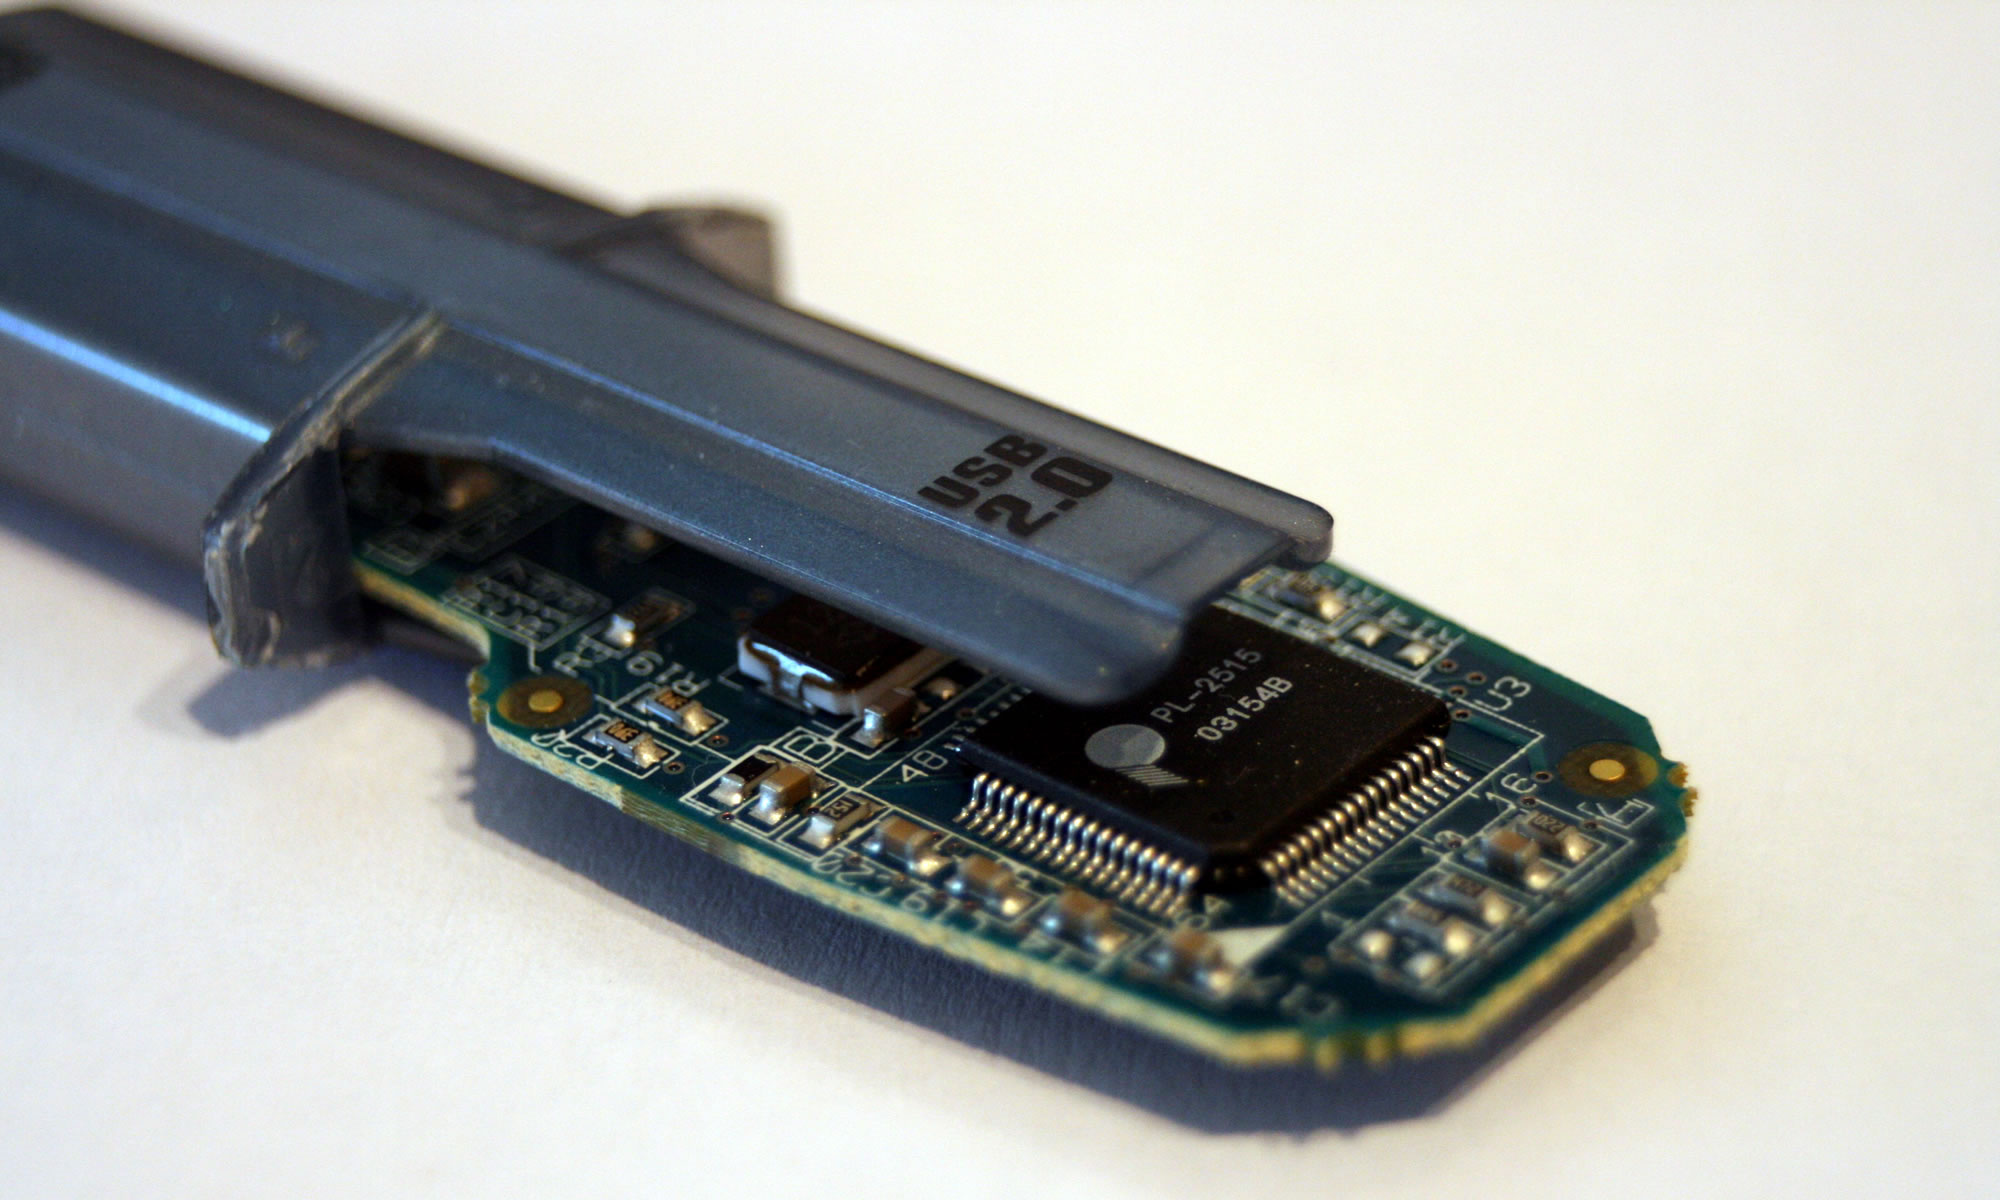
Well my wireless keyboard and mouse now work.
tech, news, productivity, views and stuff
Installed new Boot Camp drivers on iMac. Windows 7 now working a treat.
Realty easy to install. However it was huge… 381MB is one big download.
Well my wireless keyboard and mouse now work.
Boot Camp Software Update 3.1 for Windows 32 bit
This update adds support for Microsoft Windows 7 (Home Premium, Professional, and Ultimate), addresses issues with the Apple trackpad, turns off the red digital audio port LED on laptop computers when it is not being used, and supports the Apple wireless keyboard and Apple Magic mouse.
This update is highly recommended for all Boot Camp 3.0 users.
Installing now….
Okay… 381MB
Downloading now…
Installing, shall we say day after tomorrow!
Was thinking of buying a new HD TV in the near future and after a little searching this evening I was reminded that I should really be getting an HD TV with an intergrated Freeview HD Tuner in it, not just one with Freeview.
We don’t get Freeview HD until April, but I don’t really want to get another box and another remote just to watch what will be a couple of a channels, I’d rather slightly future proof and have it built in.
Next question is LCD or Plasma?

I was reminded on New Year’s Day by Andy Ihnatko about Comic Book Fonts’ $20.10 font sale. As a result I got a few that had caught my eye and also recommended by Andy.
This blog post is in fact a graphic (added text below as well) using Comicrazy. I have been using it as a my default wordprocessing font since I got them on January 1st.
I do like Comic Life on the Mac and use that application for creating comics here and there.
I wanted to also use comic fonts for various documents and presentations I was working on. I didn’t want to use Comic Sans as that is horrible.
Of course comic fonts are not everyone’s cup of tea, but if you need good quality fonts, then check these out. They are not cheap, but they are excellent. If you want free fonts, you can find them online, but if you want fonts that catch the eye then have a look at Comic Book Fonts.

So I have installed Windows 7 on my iMac, despite not having the proper Boot Camp drivers. It did eventually install, however lacking the proper drivers is causing me a few issues.
Notably though I can use the wireless keyboard and mouse to log on to Windows, once logged in, the iMac under Windows 7 decides that it can no longer see the keyboard and mouse. So the only solution is to plug in an USB keyboard and mouse. The thing is that the OS can see the keyboard and mouse, it’s just that they don’t function!
The other problem is with the audio drivers.
Hopefully it won’t be too long before Apple release proper Boot Camp drivers for Windows 7.
It didn’t work before, but it is working now!
I have installed Windows 7 on the iMac using Parallels
, however I did want to use it on Boot Camp. In the main because I can.
Problem number one was that currently there is no support in Apple’s Boot Camp for Windows 7.
I hoped that it wasn’t going to be an issue. But it was…
Apple’s Boot Camp Assistant is very nice piece of software and the ease by which I can create a partition for Windows is so quick and easy and has virtually no impact on my OS X partition (apart from reducing its size).
Then slot in the Windows 7 installation disk and off we go. Remembering the format the Boot Camp partition, the Windows 7 install process starts to do its stuff. However after installing the files the whole process hung on a black screen It didn’t look right.
Quick Google search.
Ahhh
This blog entry states that the problem is with the display drivers.
So once more a fresh install and then into the DOS prompt to delete the “faulty” display driver.
However this did not work for me.
I tried again and still no luck.
Hmmm….
Was going to give up when searching for the original article I read this blog post.
The black screen problem is that for some reason, Windows 7 running on this new ATI 4670 card sends the video to the secondary monitor, leaving the primary display black. If you merely plug another monitor into the Mac, you get display just fine.
Hmmm, I was lucky that I had one of those nice 24” Apple Monitors in my office. Could this work?
Once more I configured the drive using Boot Camp Assistant, once more I put in the Windows 7 install disk, once more I set the whole process going…
Well…
Who would have guessed it! The install process worked, true the 27” iMac was all dark, but there on the secondary screen was the whole Windows 7 install process. Once installed it was very simple to install new graphics drivers and “pop” there on the 27” iMac was the Windows 7 desktop. In with the OS X install disk to install all the Windows drivers.
Job done, no need to delete files or reconfigure drives, just plug in a second monitor.
Well that didn’t work did it….
I have installed Windows 7 on the iMac using Parallels
, however I did want to use it on Boot Camp. In the main because I can.
Problem number one was that currently there is no support in Apple’s Boot Camp for Windows 7.
I hoped that it wasn’t going to be an issue.
So off I went.
Apple’s Boot Camp Assistant is very nice piece of software and the ease by which I can create a partition for Windows is so quick and easy and has virtually no impact on my OS X partition (apart from reducing its size).
Then slot in the Windows 7 installation disk and off we go.
Remembering the format the Boot Camp partition, the Windows 7 install process starts to do its stuff. However after installing the files the whole process hung on a black screen. Hmm this doesn’t look right.
Reboot and try again…
Hmmm same problem.
Well back into OS X, delete the partition and try again. Nope same problem.
Quick Google search.
Ahhh
This blog entry states that the problem is with the display drivers.
So once more a fresh install and then into the DOS prompt to delete the “faulty” display driver.
However this did not work for me.
I tried again and still no luck.
Hmmm….
I did write:
Very easy to configure, I plugged it into the power then plugged the supplied ethernet cable into my iMac, reconfigured the ethernet settings in System Preferences, turned off the Airport on the iMac. Then went to a browser, typed in the 1.1.1.1 address, entered the username and password. Added my Airport network details. Very pleased to see that my 802.11n 5GHz network was recognised, remembered to use WPA2-AES (as that is what the Airport Extreme uses). Click configure,update. Job done!
However life is never that simple…
Once I placed the Buffalo Nfiniti Wireless-N Dual Band Ethernet Converter under my TV, it didn’t seem to work. I in the main purchased the Buffalo device so that I could connect my new LG BD370 Blu-ray Player
to the internet. The LG Blu-Ray Player can also play YouTube videos, but has to be connected to the internet to do so.
The LG Blu-Ray Player intially could not connect to the network, which indicated to me that the problem was with the Ethernet Converter. In the end I did a full reset and reconfigured. Checking the web based advanced menu, I worked out that it had retained the default 1.1.1.1 IP address.
In that menu I changed the Unit IP Address from Manual Setup to dynamic and to acquire an IP Address automatically.

At this point the LG Blu-Ray Player could now connect to the network and the internet, but still wouldn’t play YouTube videos. Of course now I was connected to the internet I could download updated firmware for the LG Blu-Ray Player. Once downloaded and installed the LG Blu-Ray Player could now play YouTube videos.
Well that was simple.
I ordered the Buffalo Nfiniti Wireless-N Dual Band Ethernet Converter from Amazon on the 1st January. I used the Super Saver Delivery option, I was in no hurry and why pay extra for postage (especially over New Year). Really surprised to see the parcel arrive this morning! Excellent service Amazon, well impressed.
It’s smaller than the picture makes it look.

Very easy to configure, I plugged it into the power then plugged the supplied ethernet cable into my iMac, reconfigured the ethernet settings in System Preferences, turned off the Airport on the iMac. Then went to a browser, typed in the 1.1.1.1 address, entered the username and password. Added my Airport network details. Very pleased to see that my 802.11n 5GHz network was recognised, remembered to use WPA2-AES (as that is what the Airport Extreme uses). Click configure,update. Job done!
The reason the Buffalo device appeals, is that it comes with four ethernet ports, which means I can connect four devices to the network.
Now to test it out under the TV!
I was always a fan of the Linksys WET54G. It allows you to connect a wired client to a wireless network, acting as an ethernet bridge. For some time I have been thinking about getting an 802.11n version of the device.However whenever I looked it appeared that Linksys weren’t making one. Obviously I haven’t been looking enough as there are now quite a few 802.11n ethernet bridges now on the market. As well as the Linksys, there is a D-Link
and I noticed that Buffalo make the Buffalo Nfiniti Wireless-N Dual Band Ethernet Converter
. This looked like an ideal solution for under the TV. I have been using an ethernet cable however the “Little People” kept pulling the cable out so I have been thinking about a wireless solution. I didn’t want 802.11g as that (from experience) with the WET54G it was too slow for video.
The reason the Buffalo device appeals, is that it comes with four ethernet ports, which means I can connect four devices to the network.

I have ordered the Buffalo device and it should arrive next week.